How to Switch a Restaurant POS System Without Downtime
Switching restaurant point-of-sale systems does not have to mean shutting down orders, confusing the kitchen, or asking staff to improvise during service. The safest approach is to treat the change as an operational transition, not a hardware swap. That means understanding what must keep working, preparing clean data, testing real workflows, and choosing a controlled go-live window.
A new POS may help reduce operating costs, simplify ordering channels, improve reporting, or make daily tasks easier. But those benefits matter only if the system fits the way your restaurant actually works. Before signing, confirm what will happen to your menu, payments, hardware, integrations, customer data, gift cards, and online ordering—and who is responsible for each task.
This guide explains how to switch restaurant POS systems with minimal disruption. If you are still evaluating providers, use Foodhub’s restaurant POS comparison guide to compare total operating cost, flexibility, integrations, training, and long-term fit before planning the transition.
What downtime looks like during a POS switch
Downtime is any break in the flow from order entry to payment, kitchen production, pickup, or delivery. A terminal does not need to go completely dark for service to be disrupted. A missing modifier, a payment device that will not connect, or an online order routed to the wrong printer can create the same operational damage.
Orders or payments stop moving
The most visible failure is the inability to enter an order or complete payment. Less obvious problems include slow authorization, incorrect taxes, missing tips, or a terminal that works at one station but not another. Test each payment device and transaction type before launch, including refunds and voids.
Kitchen routing becomes unreliable
A POS transition can expose gaps between the front counter and the kitchen. Tickets may reach the wrong prep station, duplicate, omit modifiers, or fail to appear on the kitchen display system. Staff need to trust that every accepted order reaches the right production point.
Digital channels disconnect
Your website, app, delivery partners, loyalty tools, and gift card program may require new credentials, menu mapping, or approval. Confirm each connection separately. A channel that looks active to customers but does not send orders into the restaurant is particularly easy to miss.
Why restaurant POS migrations run into trouble
Most difficult migrations are not caused by one dramatic technical failure. They result from several small assumptions: incomplete menu data, unsupported hardware, unclear ownership, or training that does not reflect a real shift.
Menu and data gaps
A restaurant menu contains more than item names and prices. Modifier rules, tax categories, availability, dayparts, kitchen destinations, service charges, employee permissions, and location-specific settings all need review. Moving old data without cleaning it can reproduce the same problems in the new system.
Hardware and network mismatches
Existing printers, cash drawers, tablets, and payment terminals may or may not be compatible. Ask the provider to document what can be reused, what must be replaced, and how connectivity will be tested. Foodhub’s restaurant POS hardware overview shows the types of POS, kiosk, payment, and kitchen hardware that may be part of a connected setup.
Integration dependencies
List every system that sends data to or receives data from the POS. Include online ordering, third-party delivery, accounting, loyalty, gift cards, payroll, inventory, and customer management tools. For each connection, identify the owner, required credentials, test method, and fallback plan.
Training that does not match the work
Generic demonstrations are useful for orientation, but staff also need practice with your menu and policies. Cashiers should process modifiers and refunds. Kitchen staff should acknowledge and complete orders. Managers should practice permissions, adjustments, end-of-day tasks, and problem escalation.
Before you switch: build a low-disruption plan
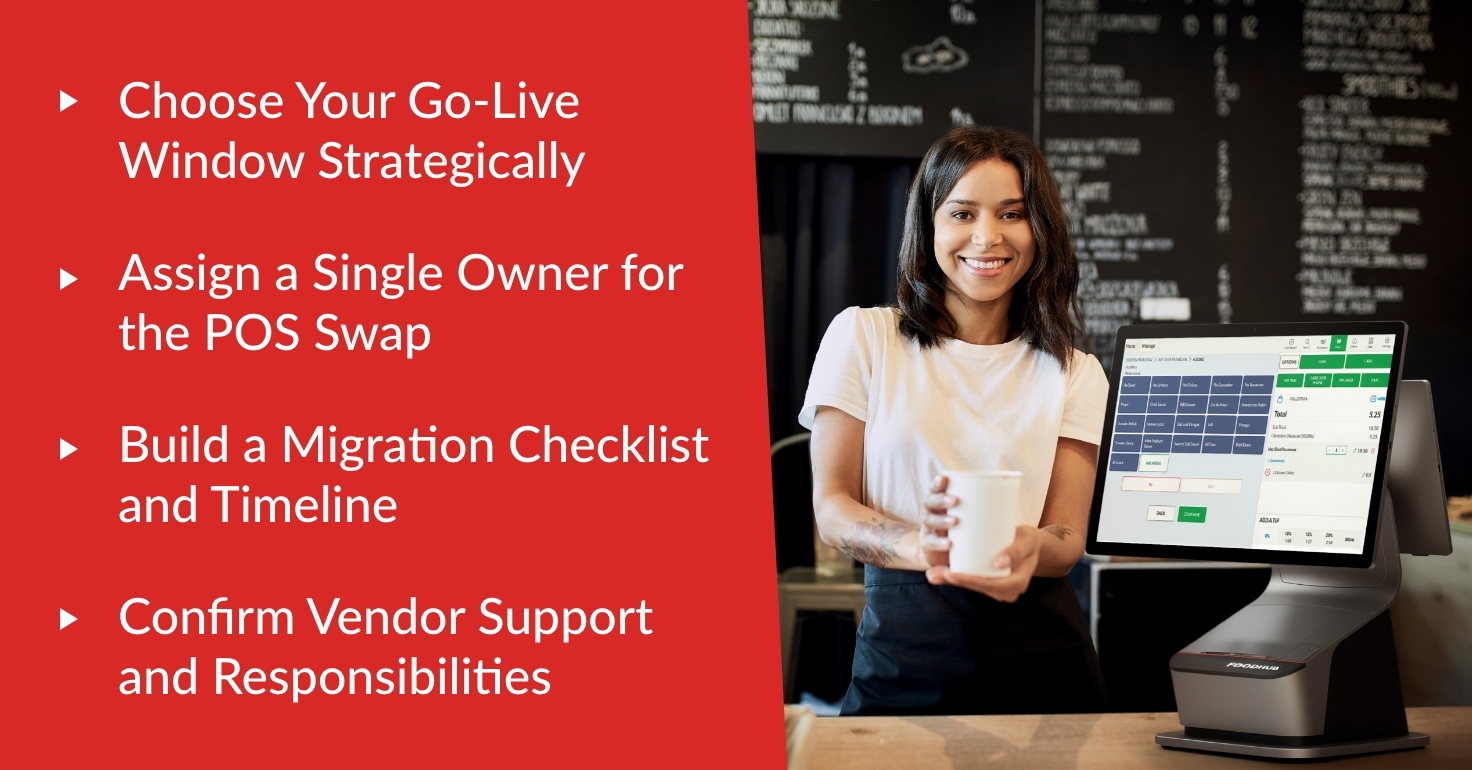
Choose the go-live window strategically
Use transaction history to identify a genuinely slow period rather than relying on habit. Avoid holidays, promotions, major catering orders, staff changes, and other events that reduce your margin for error. Build in enough time to test before the next busy service.
Assign one transition owner
One restaurant leader should coordinate decisions, maintain the checklist, and communicate with the provider. Department leads can own individual tests, but one person should know the overall status and have authority to pause the launch if a critical requirement is not ready.
Confirm responsibilities in writing
Document who will configure the menu, install hardware, connect payments, map integrations, train staff, and provide go-live support. Confirm support hours, escalation contacts, response expectations, and what happens if the launch must be postponed.
Protect the information you may need later
Export the reports and records your current provider allows before access changes. Keep a secure backup and verify that it can be opened. This is consistent with CISA guidance to maintain and test backups of critical data. Ask both providers which records can be migrated, which must be archived, and how long historical data will remain available.
How to switch restaurant POS systems step by step
Step 1: audit the current operation
Map the workflows your team uses today. Include counter, phone, dine-in, pickup, delivery, scheduled orders, refunds, discounts, tips, open checks, cash handling, and end-of-day reconciliation. Note recurring workarounds; they are requirements to solve, not processes to copy automatically.
Step 2: compare fit and contract obligations
Review the full cost of software, payments, hardware, add-ons, support, and online ordering. Check cancellation dates, data export terms, equipment ownership, processing commitments, and any overlap between old and new contracts. A lower monthly fee can be misleading if essential capabilities require additional tools or labor.
Step 3: clean and map the data
Remove inactive items and employees, standardize names, confirm tax treatment, and simplify unnecessary modifier paths. Create a source-of-truth menu for validation. If the new platform supports centralized menu management, decide which person can publish full-menu changes and how updates will be checked across locations and ordering channels.
Step 4: configure and test real scenarios
Build the system away from live service when possible. Test common orders and edge cases: substitutions, half-and-half items, timed pricing, discounts, unavailable items, split payments, refunds, future orders, and location-specific taxes. Verify totals on the customer receipt, kitchen ticket, and management report.
Step 5: install hardware and validate connectivity
Label devices, confirm cables and power, test Wi-Fi coverage, and verify printer and kitchen display routing. Ask what the system can and cannot do during an internet interruption. If offline functionality is available, learn how transactions synchronize afterward and whether any payment limitations apply.
Step 6: train staff by role and shift
Schedule hands-on practice close enough to launch that the steps remain familiar. Use the actual menu and give staff a short reference for common tasks. Identify a trained lead for every launch shift so employees know where to go before a small question becomes a service delay.
Step 7: run a controlled parallel test
There is no universal requirement to enter every live transaction into two systems for 24 to 48 hours. That can create extra labor and reconciliation risk. Instead, agree on a test appropriate to the restaurant: structured mock service, selected shadow transactions, or a limited channel or station. Keep the old system available until the agreed acceptance checks pass, when contracts and hardware allow.
Step 8: cut over with a rollback decision
Before opening on the new system, the transition owner should confirm which issues are acceptable, which require a workaround, and which trigger a pause. Record the latest time the team can return to the previous process without affecting service. A rollback plan is useful only when the decision point is clear.
Launch Day Checklist
Complete these checks before the first customer order:
Process an approved test transaction on every payment device, then confirm the void or refund procedure.
Send test orders from every ordering channel and station to the correct kitchen destination.
Verify prices, taxes, modifiers, service charges, tips, discounts, and receipt details.
Confirm staff logins, permissions, cash drawers, printers, and kitchen displays.
Place test pickup and delivery orders through each active digital channel.
Confirm opening hours, order lead times, item availability, and delivery settings.
Post support contacts and the fallback process where every shift lead can find them.
What to monitor during the first week
The first week is a stabilization period. Hold a brief check-in after each shift, record issues in one place, and distinguish configuration problems from training questions. Prioritize anything that affects payment, order accuracy, kitchen routing, customer access, or reconciliation.
Review exceptions and reporting
Track voids, refunds, price overrides, missing modifiers, late digital orders, printer failures, and repeated support requests. Compare sales, taxes, tips, fees, and deposits daily. If scheduled reporting is available, configure a small set of reports for the appropriate managers rather than sending every report to everyone.
Adjust menus and timing carefully
Use a controlled process for menu corrections so multiple people do not overwrite one another. Confirm changes at the POS, on receipts, and across connected channels. When online ordering is part of the setup, review pickup and delivery lead times against actual kitchen capacity. Learn more about keeping digital ordering connected on Foodhub’s online ordering page.
Common Mistakes to Avoid
Assuming every migration should look the same
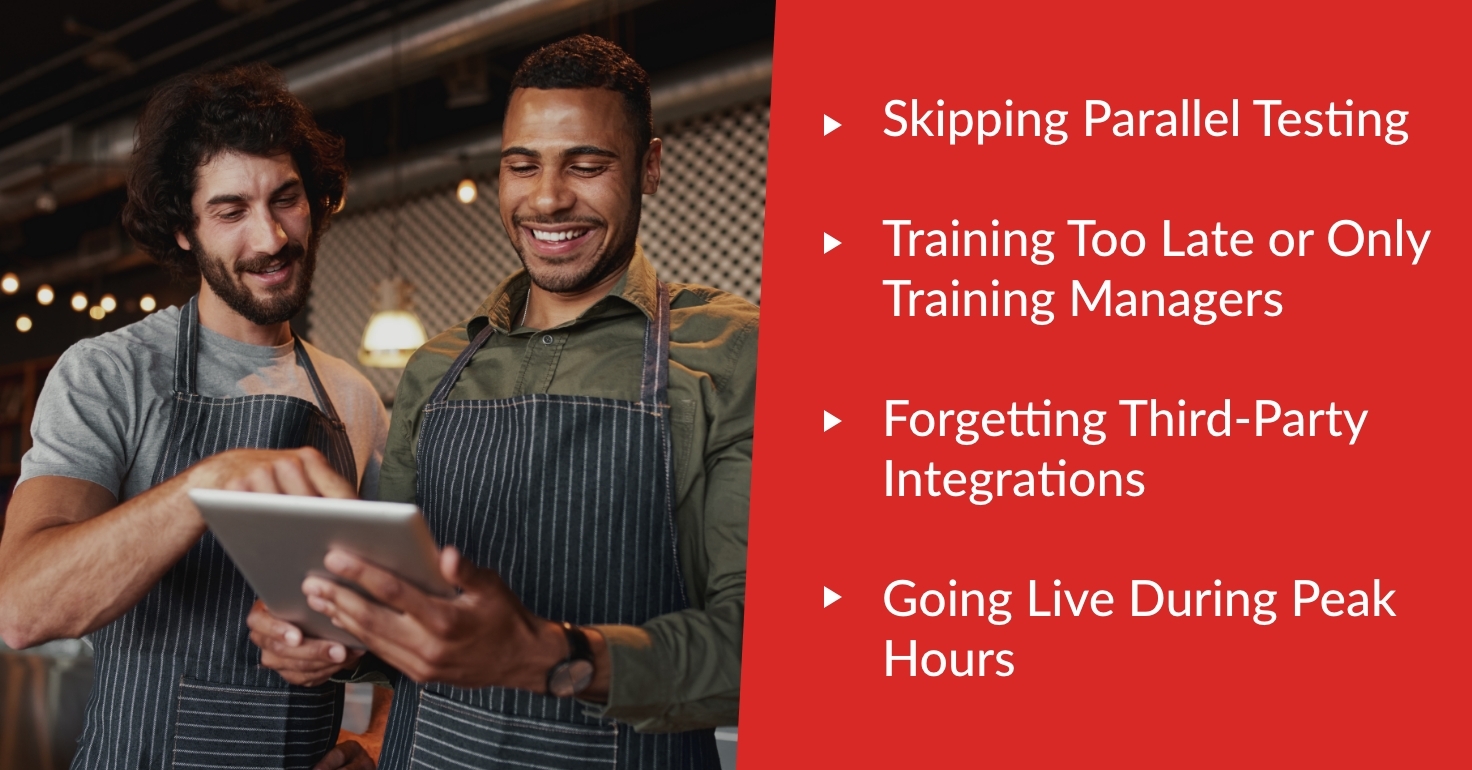
A single counter-service location and a multi-location restaurant do not need identical cutover plans. The number of stations, ordering channels, locations, integrations, and service periods should determine the testing and support plan.
Waiting until launch to test integrations
A connection is not ready simply because it appears on a product list. Confirm compatibility, credentials, menu synchronization, order routing, and error handling. Foodhub’s integration overview can help operators identify which connections to discuss during evaluation.
Training only managers
Managers need deeper permissions and troubleshooting knowledge, but every employee who touches the system needs role-specific practice. Otherwise, managers spend launch day answering basic questions instead of watching the whole operation.
Turning off the old system too early
Do not end access until required exports are complete, acceptance checks have passed, and the new system is stable—subject to contract and equipment constraints. Confirm how long you must retain financial, payroll, employee, and customer records with the appropriate legal or accounting adviser.
Plan the transition around your restaurant
The goal of a POS change is not to install different technology. It is to give the restaurant a simpler, more reliable way to take orders, accept payments, communicate with the kitchen, and understand performance. A careful transition protects those essential workflows while the team learns what is new.
Foodhub for Business offers restaurant POS options designed to support different service models and can work alongside existing systems and delivery channels where appropriate. Explore the Foodhub restaurant POS or speak with our team about your current setup, operating priorities, and what a lower-disruption transition could look like.